
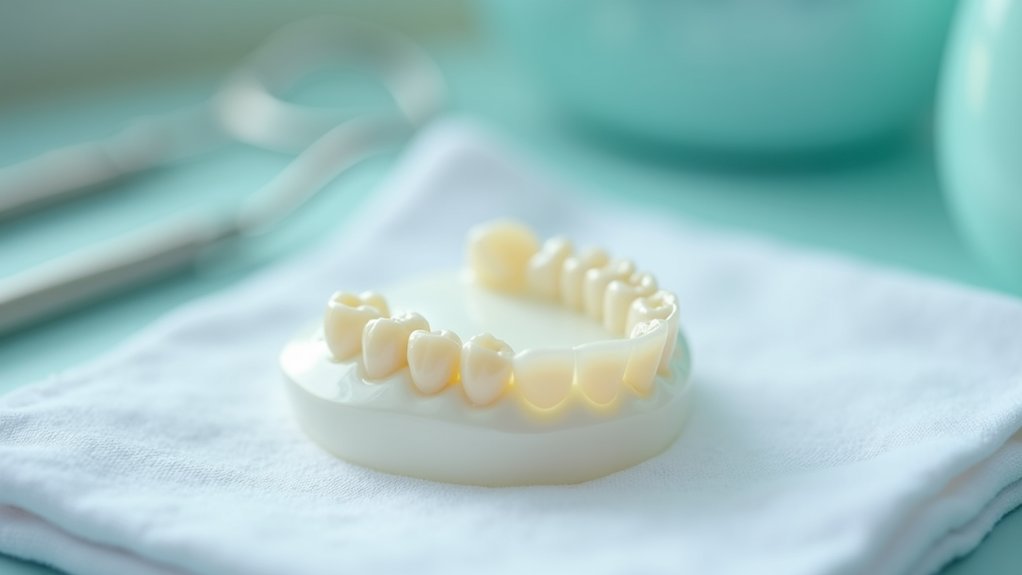
To adjust false teeth, start by inspecting the dentures for sharp areas and smoothing rough edges. Dry the denture surface and apply pressure indicating paste for fit assessment, focusing on key contact points. Evaluate for impingements, ensuring uniform contact without discomfort. Then, finish and polish modified areas to maintain smooth surfaces that enhance comfort and hygiene. Finally, conduct a thorough final inspection to validate fit. For more detailed techniques and tips, continue to explore further.
Key Takeaways
- Inspect dentures for sharp edges or imperfections before adjustments, using gauze to smooth rough areas.
- Apply pressure indicating paste to assess fit, ensuring even contact across the denture base.
- Evaluate areas of excessive pressure, particularly around the molars and posterior buccal regions, for necessary adjustments.
- Finish and polish modified areas to prevent irritation and enhance patient comfort.
- Conduct a final inspection using polishing tools to ensure smooth surfaces and validate proper fit.
Preparing the Dentures for Adjustment
Before you begin adjusting dentures, it’s crucial to guarantee they’re properly prepared to avoid complications during the appointment.
Make sure the dentures have been processed by a laboratory and returned in a sealed pouch for cleanliness. Inspect the denture surface for spicules, sharp areas, or imperfections, eliminating them with gauze. Full dentures typically last an average of 5 to 10 years, so ensuring their quality is essential for longevity. Smooth and polish any rough or sharply angled contours to save valuable chair time. It is also important to remember that removing dentures before bed promotes oral health and comfort. Verify the denture is completely dry before applying disclosing paste with a stiff brush, as this will help you accurately assess pressure points, facilitating efficient denture adjustments and enhancing patient comfort during their appointment. Additionally, proper denture cleaning is essential to prevent stains and maintain appearance, ensuring a better fit and comfort for the patient.
Ensuring a Proper Fit With Pressure Indicating Paste
To guarantee a proper fit with pressure indicating paste, start by thoroughly drying the denture surface for accurate assessment.
Apply the paste to the denture base, avoiding the edges to ease insertion and removal.
After inserting the denture, evaluate the fit by checking for even distribution of the paste, which indicates ideal contact and comfort. Regular check-ups can help monitor denture condition, ensuring that any necessary adjustments are made to maintain an optimal fit. Additionally, addressing the gag reflex is essential for a comfortable denture experience. It’s important to note that dental implants can provide tooth replacements that may enhance stability and comfort for those struggling with traditional dentures.
Preparing the Denture Surface
Securing a proper fit for dentures is essential for patient comfort and functionality, so it’s important to prepare the denture surface meticulously.
Begin by examining the surface for spicules, sharp areas, or imperfections, using gauze to identify and eliminate these issues. Smooth and polish any rough or sharply angled contours to enhance comfort before the patient’s visit. Maintaining regular dental check-ups can also help ensure the denture fit remains optimal. Regular assessments can help identify oral health changes, which contribute to a better fit over time.
When drying the denture, make sure it’s thoroughly dried for accurate results. Use a stiff brush to apply pressure indicating paste evenly across the base, avoiding the peripheral edge, which facilitates easier insertion and removal, laying the groundwork for a precise fit during adjustments. Additionally, denture problems are common and may require further adjustments to achieve optimal comfort.
Applying Pressure Indicating Paste
Applying pressure indicating paste is an essential step in achieving an accurate fit for dentures. First, dry the denture thoroughly.
Apply the paste to the base, steering clear of the peripheral edge for easier insertion. Rotate the denture into place to avoid smearing the paste, ensuring accurate readings.
Use heavy pressure on the first molars with your fingers rather than relying on occlusion for a proper fit assessment. Continuously reapply the paste, checking for even distribution without streaks.
Adjust areas where the paste has burned through, indicating excessive pressure points, to enhance comfort and functionality for the wearer. Regular professional cleaning helps maintain the appearance and hygiene of your dentures, ensuring they fit comfortably.
Evaluating Fit and Comfort
How can you tell if your dentures fit comfortably and securely? Begin by thoroughly drying the denture before applying pressure indicating paste for accurate evaluation.
Apply the paste to the denture base, avoiding the peripheral edge for easier insertion. When seating the denture, use heavy pressure on the first molars to assess contact points.
After functional movements, inspect for areas where the paste has burned through—this indicates excessive pressure needing adjustment.
Conclude by ensuring uniform contact across the denture base, confirming comfort without displacement during pressure application. This meticulous process enhances fit and overall satisfaction.
Techniques for Applying Pressure
When adjusting false teeth, exerting the right amount of pressure is essential for achieving a comfortable and secure fit. Use your fingers to apply heavy pressure directly on the first molars, ensuring ideal placement. Rotate the denture during insertion to prevent smearing the pressure indicating paste.
| Action | Purpose | Notes |
|---|---|---|
| Apply pressure | Secure fit | Focus on first molars |
| Rotate denture | Accurate pressure assessment | Prevent paste smearing |
| Break seal for removal | Protect fitting surfaces and tissues | Target buccal vestibule |
| Check paste burn-through | Identify and adjust excessive pressure points | Reapply until even distribution |
Evaluating Peripheral Adjustments
To effectively evaluate peripheral adjustments, it’s crucial to apply pressure indicating paste along the peripheral edge of the denture, particularly on the buccal surface.
Adjust one side at a time to prevent smearing the paste on the lips or cheeks. Stabilize the denture while the patient performs functional movements to assess its fit and make necessary adjustments for border molding.
Look for areas where the paste has burned through, signaling excessive pressure points that need addressing. For precision adjustments in narrow areas, like the labial frenum, use a thin burr to guarantee comfort and proper fit for the patient.
Making Final Adjustments
Once you’ve evaluated the peripheral adjustments, focus on making final adjustments to guarantee the denture fits comfortably and functions effectively.
Apply pressure indicating paste to the posterior buccal surface to identify coronoid process impingements and painful areas during movements. Adjust where the paste burns through, ensuring the denture is stable while the patient moves.
Apply pressure indicating paste to pinpoint coronoid process impingements and adjust for stability during patient movement.
Pay particular attention to the lingual frenum to prevent pain and ulceration. Complete adjustments when the paste shows uniform contact, ensuring firm pressure over the first molars doesn’t cause discomfort.
Finally, polish all modified areas thoroughly for a smooth, comfortable fit for the patient.
Checking for Impingements
As you assess the fit of the denture, checking for impingements is crucial to avoid discomfort and guarantee proper functionality. Coat the posterior buccal surface with pressure indicating paste and observe for any areas where it burns through during movement. Pay attention to the coronoid process and verify ample space during jaw movements. Evaluate the lingual frenum area for discomfort, as impingement can cause severe pain. Apply firm pressure over the first molars to maintain seating, and use a thin burr for adjustments in narrow areas.
| Area to Check | Signs of Impingement | Adjustment Method |
|---|---|---|
| Posterior Buccal | Paste burned through | Adjust base thickness |
| Coronoid Process | Limited jaw movement | Increase denture space |
| Lingual Frenum | Pain or ulceration | Refine edges with burr |
Finishing and Polishing Modified Areas
After making adjustments to the denture, it’s essential to finish and polish the modified areas for ideal comfort and function.
Utilize appropriate polishing tools and techniques to create smooth surfaces, eliminating any roughness or sharp edges.
Finally, conduct a thorough inspection under adequate lighting to guarantee a flawless finish and confirm the denture’s fit remains uncompromised.
Importance of Smooth Surfaces
Smooth surfaces on dentures play an essential role in ensuring patient comfort and preventing irritation. Sharp or rough areas can lead to painful sores, complicating the patient’s experience. Finishing and polishing modified areas with precision reduces pressure points and improves hygiene by minimizing plaque buildup. Regular checks can save chair time, as well-finished dentures require fewer adjustments. Additionally, utilizing appropriate polishing techniques enhances the denture’s aesthetic appeal.
| Benefit | Impact on Patients | Clinical Efficiency |
|---|---|---|
| Improved Comfort | Reduces irritation | Fewer adjustments needed |
| Enhanced Hygiene | Minimizes plaque | Saves chair time |
| Aesthetic Appeal | More natural appearance | Boosts patient confidence |
Techniques for Polishing Dentures
To guarantee ideal comfort and functionality for patients, polishing dentures after adjustments is essential.
Use a fine-grit abrasive material or polishing compound to achieve a smooth, high-shine surface, minimizing irritation risk to oral tissues.
Employ a slow-speed handpiece with the correct polishing cup to prevent overheating the acrylic.
After initial polishing, regularly check the denture surface for any lingering rough spots or imperfections, ensuring a thorough finishing process.
The final polished surface must be free from sharp angles or spicules, providing both aesthetic appeal and functional comfort to the wearer, ultimately enhancing their overall experience with dentures.
Final Inspection Procedures
Once you’ve completed the adjustments on the denture, it’s essential to conduct a thorough final inspection of all modified areas to confirm patient comfort and aesthetic appeal.
Use appropriate polishing tools and materials to restore the shine while avoiding damage to the acrylic base.
Inspect the entire denture for sharp edges or imperfections; these can cause discomfort or irritation.
Ascertain there are no rough areas or sharp contours that could lead to soft tissue trauma.
Finally, perform a check for uniform contact using pressure indicating paste to validate proper fit without discomfort, ensuring the best experience for your patient.
Ensuring Patient Comfort After Adjustments
Guaranteeing patient comfort after adjustments to false teeth is essential for a successful denture experience. Monitor the denture base for uniform contact with oral tissues to prevent discomfort. Use pressure indicating paste to identify areas of excessive pressure. Encourage patients to perform functional movements, like chewing and speaking, to pinpoint any discomfort. Make final adjustments to avoid impingements on sensitive areas. Finally, finish and polish all modified areas to enhance fit and comfort.
| Action | Purpose |
|---|---|
| Inspect denture base | Guarantee uniform contact |
| Apply pressure paste | Identify pressure points |
| Encourage functional use | Detect discomfort in action |
| Adjust sensitive areas | Prevent pain and irritation |
| Polish modified areas | Enhance comfort and fit |


